Master your supply lines, eliminate bottlenecks, and keep your factory running like clockwork.
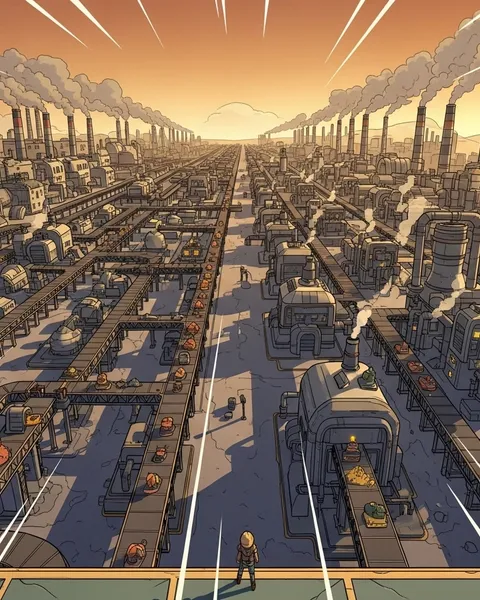
Once your Satisfactory factory reaches a certain scale, conveyor belts alone just don’t cut it anymore. That’s when trains come in, powerful, efficient, and endlessly satisfying to watch in motion.
Managing trains and logistics can seem overwhelming at first, but with a few smart strategies, you can turn chaos into a seamless transport network that keeps every production line supplied.
Here’s how to manage trains and logistics in Satisfactory like a pro.
🧠 1. Why Trains Are a Game-Changer
Trains are the backbone of mid to late-game logistics. They’re faster than trucks, more reliable than drones for heavy loads, and perfect for long-distance connections.
Why use trains:
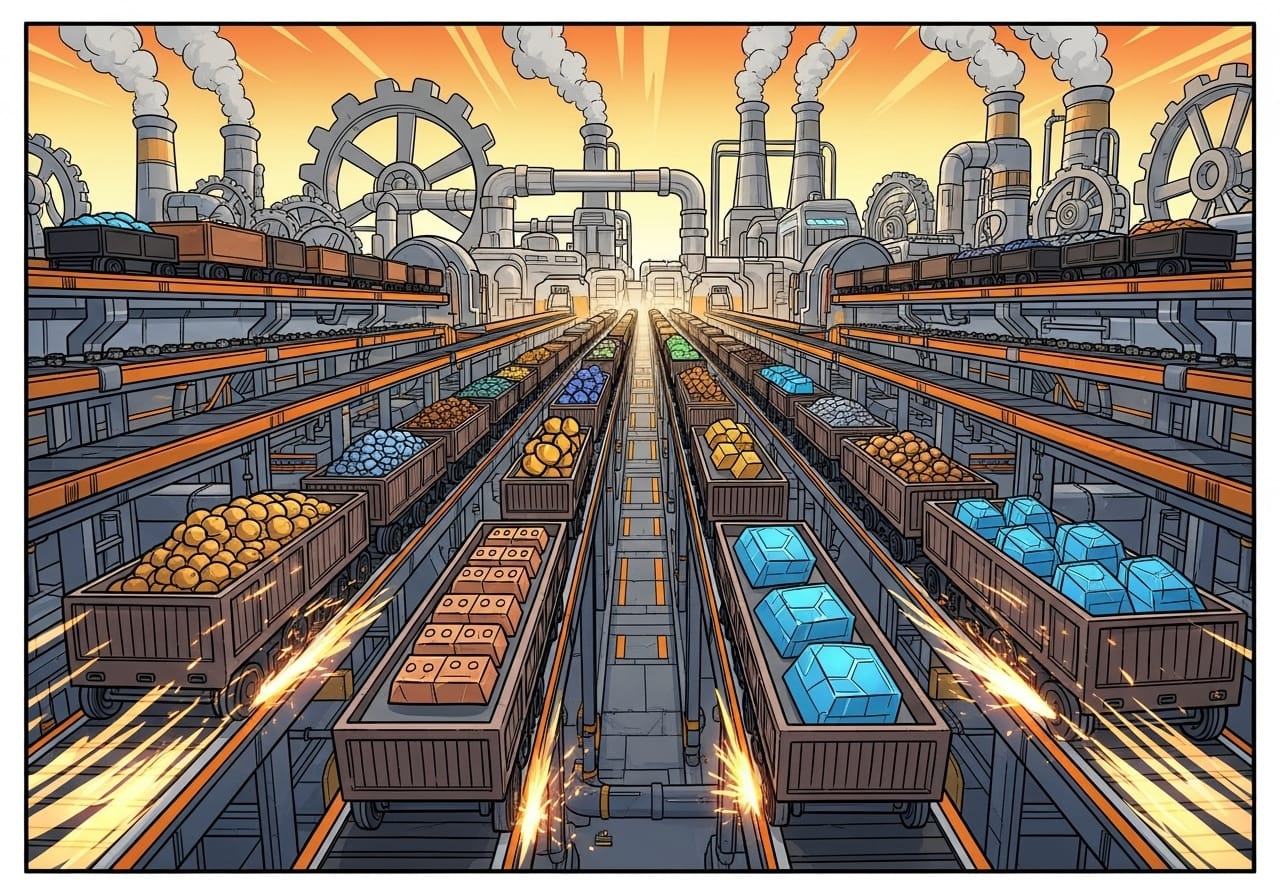
- Massive transport capacity for raw and refined materials.
- Fully automated scheduling.
- No pathfinding issues like vehicles.
- Highly efficient for power and fuel usage.
If you’re planning to scale your production or link distant resource nodes, trains are essential.
🚉 2. Plan Before You Build
Building a train network without a plan is one of the most common mistakes players make. Before you place a single track, take time to map out your routes.
Best practices for planning:
- Mark major resource areas and factory hubs on your map.
- Decide whether each station will import or export materials.
- Avoid steep slopes or sharp turns to keep trains fast and efficient.
- Leave plenty of space around stations for future expansion.
Pro tip: Use foundations or raised platforms to keep your tracks straight, clean, and organised. It looks better and performs more efficiently.
🏗️ 3. Build Efficient Train Stations
Train stations are where your logistics truly come together. Each one needs a clear purpose and logical flow.
Station setup essentials:
- Freight Platform: Handles loading and unloading of materials.
- Train Station Terminal: Names the station and controls train routes.
- Fluid Freight Platform: For liquids like fuel or water.
- Track Signals: Manage direction and prevent collisions.
Naming tip: Use clear names like “Iron Mine South” or “Main Factory Hub” so you can quickly identify routes in the train manager.
⚙️ 4. Automate with Smart Scheduling
Satisfactory’s train system runs automatically once you’ve set up your timetable. The key is efficiency and avoiding deadlocks.
Simple automation setup:
- Build at least two stations (for loading and unloading).
- Place freight platforms and connect them to storage containers or belts.
- Drive the train manually once between both stations.
- Open the train menu and add stop commands for each station.
- Set loading and unloading rules using “Wait Until Full” or “Wait Until Empty.”
Pro tip: Use dedicated trains for each major resource type. Mixing materials can cause scheduling delays and slow unloading.
🧭 5. Use Signals for Smarter Rail Systems
Signals are crucial once you have more than one train running. They divide tracks into sections and prevent multiple trains from colliding or blocking each other.
Two main signal types:
- Block Signals: Control entry into a section of track. Only one train can occupy a block at a time.
- Path Signals: Allow multiple trains to share complex junctions safely by reserving paths dynamically.
Best practice:
- Place block signals before and after every station.
- Use path signals at intersections or roundabouts.
- Keep your tracks dual-laned for smooth two-way traffic.
Pro tip: Colour-code your tracks or stations with lights to make maintenance easier.
🪣 6. Balancing Resources and Throughput
A flawless train network is useless if your factories can’t keep up. Always balance production and consumption to prevent overflows or shortages.
Quick balancing checklist:
- Match extraction rates with train load sizes.
- Use Smart Splitters to control overflow into storage.
- Maintain buffer containers at both ends of the line.
- Build a return line for empty trains to prevent traffic jams.
Pro tip: If one train route gets overloaded, consider splitting it into two shorter lines that feed a shared hub station.
🚀 7. Integrate Trains with Other Logistics Systems
Trains are powerful, but the best factories combine multiple transport systems.
Smart combinations:
- Conveyors: Handle short-distance, high-frequency transfers within a factory.
- Trucks: Transport goods between smaller local outposts.
- Drones: Deliver lightweight or high-priority items.
- Trains: Move bulk materials across the map efficiently.
Each system has its strengths, and the trick is connecting them in a way that keeps everything moving smoothly.
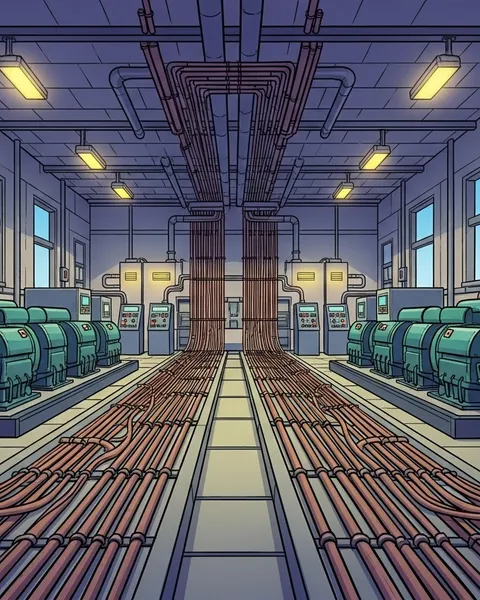
🔋 8. Keep Power and Maintenance in Mind
Trains are electric, so they rely on your factory’s power grid. Large train networks can create sudden power spikes when multiple trains start or stop simultaneously.
Power tips:
- Place dedicated power poles or substations near tracks.
- Monitor your Power Graph for demand spikes.
- Spread out station activity using staggered train schedules.
Maintenance tip: If trains start stuttering or halting unexpectedly, check for blocked sections, missing signals, or unpowered stations.
🌐 9. Design for Aesthetics and Accessibility
A well-designed train network isn’t just efficient, it’s beautiful to look at.
Style ideas:
- Build elevated railways for scenic views.
- Use glass foundations to show belts or fluids below.
- Add lighting to highlight stations at night.
- Create bridges or tunnels to link biomes smoothly.
It’s not just about efficiency. A clean layout makes your network easier to expand and troubleshoot later.
🎮 Final Thoughts
Trains are the heartbeat of any advanced Satisfactory factory. They turn sprawling production lines into a connected, efficient ecosystem that runs almost entirely on its own.
Plan your routes, automate your schedules, and watch your logistics empire grow. Once you’ve mastered trains, you’ll never look at conveyor belts the same way again.
👉 Host your Satisfactory server with ChipHead and keep your network running flawlessly today. ⚙️