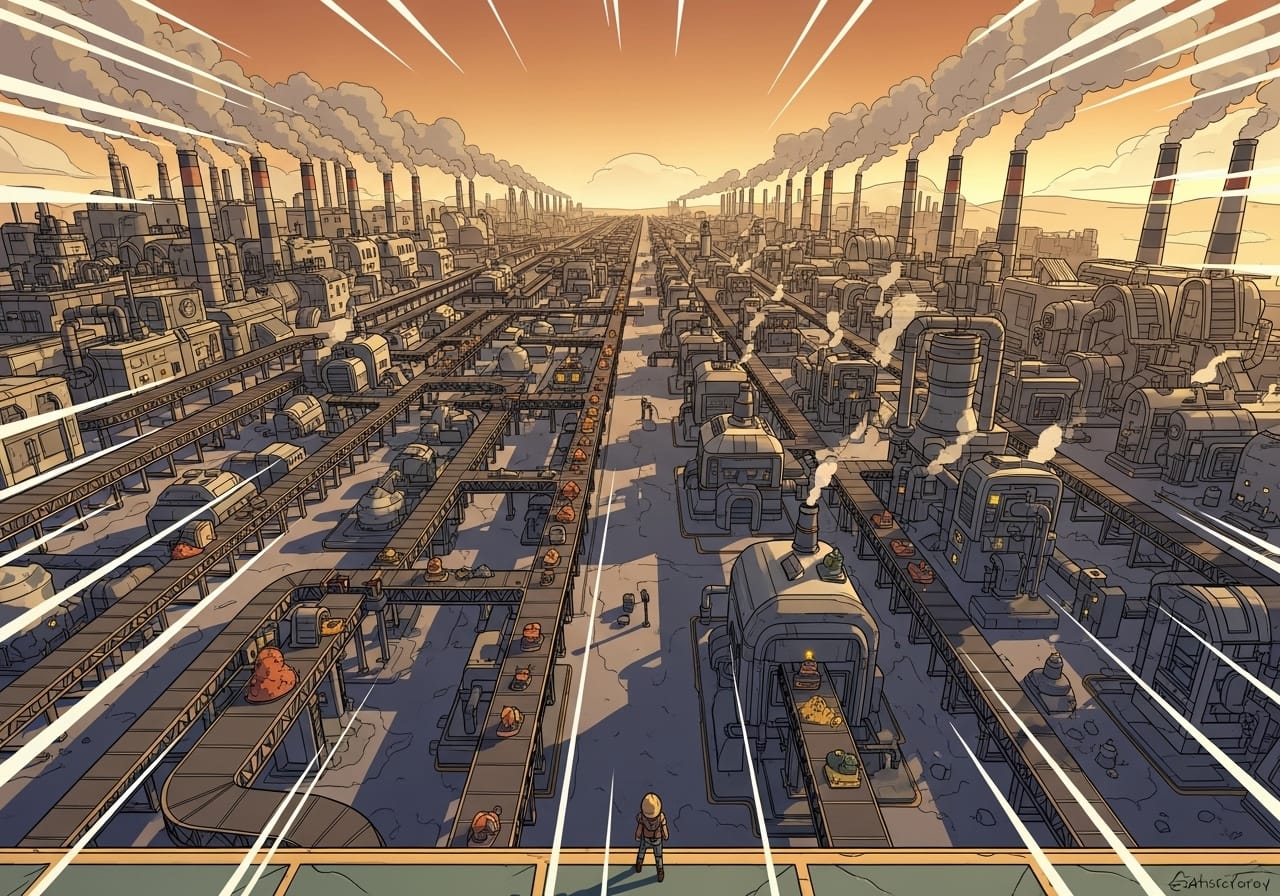
Turn your messy conveyor chaos into a clean, efficient, and scalable production masterpiece.
Let’s be honest, everyone’s first Satisfactory factory is a spaghetti nightmare. Belts looping over each other, machines placed at random, and power poles tangled like vines. It’s part of the charm, but at some point, every player wants to take things to the next level.
This guide breaks down the best factory layouts in Satisfactory, from early-game starter bases to advanced modular mega-builds. Learn how to plan, expand, and organise your production like a pro.
🧱 1. The Grid Layout – The Foundation of Efficiency
The Grid Layout is a favourite among experienced players because it makes expansion simple and predictable.
How it works:
- Machines and belts are placed in rows and columns.
- Foundations create a flat, level surface for everything.
- Each production line fits into a modular tile that can be repeated.
Why it’s great:
- Easy to maintain and expand.
- Reduces visual clutter and belt tangles.
- Perfect for neatly stacking vertical layers later.
Pro tip: Use 8x8 or 10x10 foundation tiles as your standard module size. It keeps everything consistent and scalable.
⚙️ 2. The Vertical Factory – Build Up, Not Out
When space gets tight or you’re working on uneven terrain, go vertical. The Vertical Factory layout stacks production lines on multiple floors using elevators and lift conveyors.
Why it works:
- Saves massive amounts of horizontal space.
- Keeps high-tier production lines separate but connected.
- Looks amazing when built with symmetry and glass walls.
Ideal setup:
- Floor 1: Raw material intake and smelters.
- Floor 2: Assemblers and constructors.
- Floor 3: Advanced parts or storage systems.
Pro tip: Use wall-mounted logistics like conveyor walls and ceiling power to keep each level tidy.
🌾 3. The Hub and Spoke Layout – Smart for Large Factories
Think of this as the city plan of factory design. A central hub handles input and power, while separate spokes handle different production lines branching outward.
Why it’s great:
- Centralised logistics and control.
- Easy to expand by adding new spokes.
- Keeps lag lower since each area operates semi-independently.
Best use: Perfect for multiplayer servers or mega projects where each player runs a separate spoke.
Pro tip: Keep resource storage and power generation close to the hub for easy management.
🏗️ 4. The Modular Layout – Flexibility at Its Best
If you like experimenting or changing your setup often, the Modular Layout is your best friend. Each product has its own self-contained module that handles everything from input to output.
Why it’s great:
- Simple to duplicate, upgrade, or move.
- Prevents entire factory shutdowns when adjusting one area.
- Keeps production lines neat and contained.
Example:
- One module produces screws.
- Another turns screws and rods into reinforced plates.
- Both connect through a logistics hub.
Pro tip: Label each module with signs or lights to stay organised when the factory scales up.
🔋 5. The Tiered Expansion Layout – Build for the Future
Satisfactory is all about progression. As you unlock new materials, your factory needs to grow without constant redesign. The Tiered Layout makes scaling smooth by dividing production into tiers that mirror the game’s tech tree.
Setup example:
- Tier 1: Iron, copper, and limestone processing.
- Tier 2: Steel and reinforced parts.
- Tier 3: Advanced manufacturing and modular frames.
- Tier 4+: Computers, fuel, and nuclear components.
Why it works:
- Keeps materials grouped by complexity.
- Makes troubleshooting easier since each tier is isolated.
- Ideal for long-term worlds and multiplayer setups.
Pro tip: Leave space between tiers for future upgrades. You’ll thank yourself when new updates add more parts.
🌉 6. The Bridge Factory – Efficient and Aesthetic
If you want style and functionality, the Bridge Factory layout combines both. Instead of sprawling across land, you build over cliffs, rivers, or canyons using suspended platforms.
Why players love it:
- Saves space and looks futuristic.
- Easy to manage vertical logistics using lifts.
- Great for connecting remote outposts or power grids.
Pro tip: Use glass foundations and lighting for a sci-fi look. This layout is perfect for screenshots and community showcases.
🛠️ 7. Advanced Tips for Any Layout
No matter what design you choose, these tips will help keep your factory clean and efficient:
✅ Use Foundations Everywhere: Even in rough terrain, it ensures level surfaces and smoother conveyor paths.
✅ Plan with Power in Mind: Keep generators and lines separate to prevent grid confusion.
✅ Label Everything: Signs, colours, and lights help you identify production lines quickly.
✅ Optimise Flow: Arrange machines so resources move in straight paths without loops.
✅ Think Ahead: Always leave space for expansion or logistics adjustments.
Bonus tip: Use smart splitters and programmable storage to automate overflow and balance inputs.
🎮 Final Thoughts
Your factory doesn’t need to be perfect, but a little planning goes a long way. Whether you prefer neat modular layouts or towering mega bases, the best design is the one that makes sense to you and scales easily as your ambitions grow.
Start simple, keep things tidy, and build smarter each time. That’s how great factories, and great players, are made.
👉 Host your Satisfactory server with ChipHead and build your dream factory without limits. ⚙️


