Why build a base? 🧟♂️
In DayZ, your base isn’t just a stash - it’s your lifeline. It’s where you rest, rebuild, and store everything that keeps you alive. A good base gives you safety from zombies and, more importantly, other players.
But not every fence or wall guarantees survival. Smart location, efficient layout, and layered defence make the difference between a lasting hideout and a raider’s playground.
Step 1: Choose your location carefully 📍
Where you build determines how long you’ll survive.
🏠 Urban bases
- Pros: Easy access to loot, vehicles, and tools.
- Cons: High visibility and heavy player traffic.
- Ideal spots: Garages, warehouses, or rooftop bases in Cherno and Elektrozavodsk.
🌲 Forest hideouts
- Pros: Stealth and natural camouflage.
- Cons: Harder access to loot and vehicles.
- Ideal for small groups who prefer quiet, off-grid living.
🏗️ Industrial compounds
- Pros: Prebuilt fences, wide space, and storage options.
- Cons: Attracts attention due to valuable loot.
- Great for organised groups running trade or event servers.
💡 Pro tip: Build near water sources or known vehicle spawns, you’ll save endless time on supply runs.
Step 2: Gather the right materials 🪓
Before you can fortify your base, you’ll need the right tools and components:
- Shovel or Pickaxe: For building foundations and gates.
- Hacksaw: To create planks and dismantle structures.
- Hammer or Hatchet: For building walls and crafting materials.
- Nails, Logs, and Planks: The backbone of all construction.
- Barbed Wire and Metal Sheets: For defence and reinforcement.
🧱 Tip: Always stockpile twice as many materials as you think you’ll need, base-building is resource-hungry.
Step 3: Build smart, not big ⚙️
A massive base might look impressive but is often a raider magnet. Instead, focus on efficient, layered defence:
- Start small: Build a compact shelter first, then expand.
- Use pre-existing structures: Combine natural walls, buildings, or cliffs with player-built barriers.
- Double up walls: Two layers of fences or walls with a narrow gap make it harder for raiders to breach.
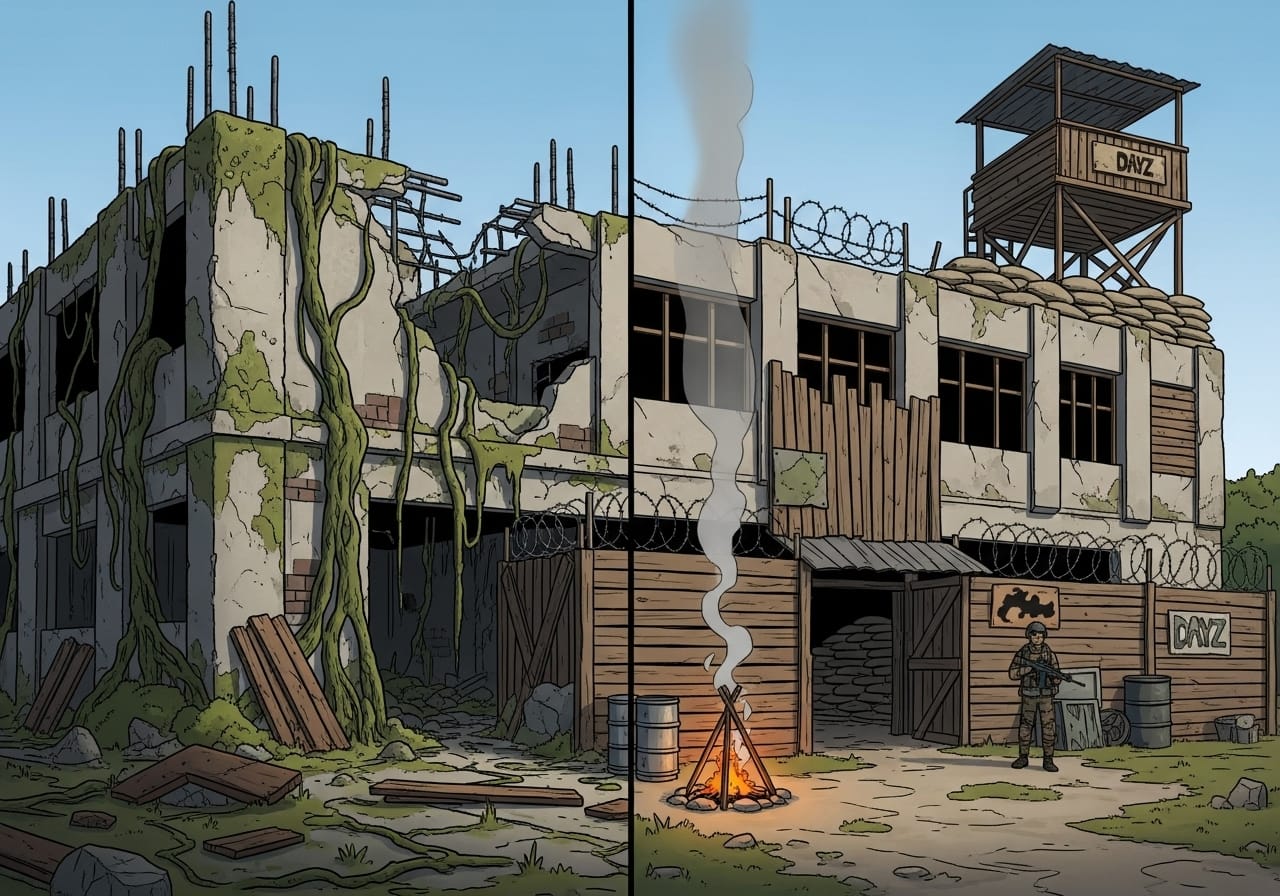
- Add elevated viewpoints: Watchtowers or rooftop access points help spot threats early.
💡 Pro tip: Use watchtowers for both defence and navigation, they’re great landmarks for your group.
Step 4: Fortify your entrances 🚪
Your gate is your weakest point, treat it as such.
- Build airlocks: Two gates spaced apart to trap or delay intruders.
- Add barbed wire and metal panels to gates for deterrence.
- Hide entrance points with foliage or natural cover if you’re running a stealth base.
- Keep padlocks on every gate, even temporary ones.
🧰 Tip: Always have a backup lock and spare combination stored elsewhere.
Step 5: Storage and layout planning 📦
Keep your base functional and organised.
| Area | Purpose | Pro Tip |
|---|---|---|
| Central Storage Room | Weapons, food, supplies | Keep items off the floor to avoid despawns |
| Sleeping Area | Spawn point or log-out zone | Safe and dark interior with limited entry |
| Workshop | Tools and crafting | Near main gate for convenience |
| Vehicle Yard | Cars and parts | Add gates and watchtowers for easy defence |
🎯 Goal: Everything should be accessible but protected, time spent digging through crates is time not watching for threats.
Step 6: Defensive measures 🔫
Even the best base will attract attention eventually. Prepare accordingly:
- Barbed wire fences: Slow down and injure attackers.
- Bear traps or mines: Strategic placement along choke points.
- Lighting: Use glowsticks or lamps sparingly to avoid attracting players.
- Sound traps: Empty cans, tripwires, or strategically placed clutter can act as early warnings.
🔥 Pro tip: Keep spare materials ready for emergency patch-ups after raids, repairing quickly is key to staying alive.
Step 7: Camouflage and deception 🕵️♂️
In DayZ, stealth can be your best defence.
- Build away from main roads or spawn zones.
- Avoid visible fires or bright lights at night.
- Use natural cover like trees, rocks, or hills.
- Fake entrances or decoy walls can mislead raiders.
🧠 Pro tip: A small “dummy base” nearby can distract other players while your real one stays hidden.
Step 8: Team coordination 👥
On multiplayer servers, teamwork makes or breaks a base.
- Assign roles: builders, scavengers, and guards.
- Set up shift patrols for active servers.
- Share lock codes only with trusted members.
- Use Discord or in-game radios for quick alerts.
💬 Tip: Regularly back up your base plan and supply lists, you never know when the next reset or raid will hit.
Step 9: Server-specific base rules 📜
Many servers have their own base-building limits or raid windows. Always check the rules before constructing.
- Some allow only one base per team.
- Others enforce no-build zones near cities or spawn areas.
- Roleplay or PvE servers may have community building hubs.
Staying within the rules keeps your base safe from admin wipes and unwanted attention.
Final thoughts 💭
A great DayZ base isn’t about how flashy it looks, it’s about how long it lasts.
Choose your spot wisely, build efficiently, and reinforce constantly. Whether you’re hiding deep in the woods or ruling an industrial compound, your base is your story of survival.
If you’re hosting your world with ChipHead, you’ll get the performance and uptime needed for large bases, modded raids, and steady persistence - so your stronghold stays strong. 🧱💪