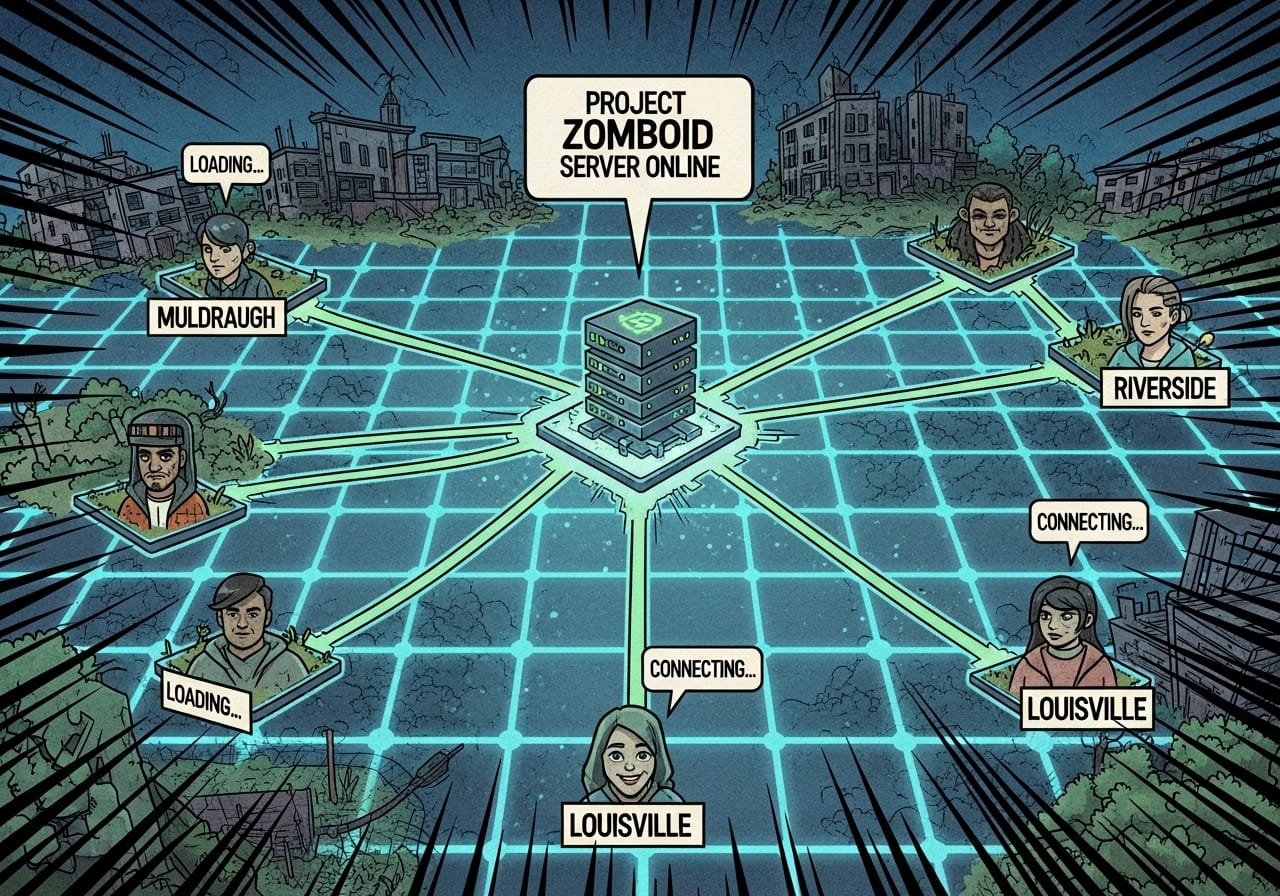
Why host your own server? 🧟♂️
Hosting your own Project Zomboid server lets you control every part of the apocalypse - from zombie density to loot rarity, player safety, and world resets. Whether you’re running a private world for friends or a public multiplayer hub, proper setup ensures stability, fairness, and fun.
This guide walks you through the essentials, from installation to fine-tuning sandbox settings.
Step 1: Installing your server 💻
There are two main ways to set up a Project Zomboid server:
🧩 Dedicated host (recommended)
If you want reliability and performance, use a game hosting provider like ChipHead. Dedicated servers give you:
- 24/7 uptime
- Low ping for all players
- Easy mod and backup management
🏠 Local server (DIY)
You can also host directly from your PC via Steam. It’s great for testing or small private sessions, but your connection and PC hardware will limit stability.
Step 2: Configure your server files ⚙️
Once installed, you’ll find your main configuration files in:
C:\Users\<YourName>\Zomboid\Server\
The most important files are:
- servertest.ini – General server settings (name, ports, passwords).
- servertest_SandboxVars.lua – Gameplay settings like loot, zombies, and weather.
- servertest_spawnregions.lua – Controls player spawn areas.
💡 Pro tip: Create a backup of your configuration files before making changes, it saves headaches later.
Step 3: Basic server settings 🧾
Here are a few key lines you’ll want to adjust in your servertest.ini:
PublicName=My Custom PZ ServerMaxPlayers=16=yourpassword
PasswordPauseEmptyServer=true=Muldraugh, KY
MapSteamVAC=true
| Setting | Purpose | Tip |
|---|---|---|
MaxPlayers | Player cap | 10–20 is ideal for stable multiplayer |
PauseEmptyServer | Pauses the world when empty | Saves CPU on smaller hosts |
Map | Default map to load | “Muldraugh, KY” is safest choice |
SteamVAC | Enables anti-cheat | Always keep it on |
🧠 Pro tip: Use a strong admin password and share it only with trusted moderators.
Step 4: Fine-tune your SandboxVars 🧱
The Sandbox settings define how your apocalypse behaves. You can adjust almost everything - loot, weather, zombies, and infection rules.
Recommended settings for balanced multiplayer:
Zombies = 3, -- NormalLoot = 3, -- NormalDayLength = 1, -- 1 hour real timeStartMonth = 7, -- July (easier start)WaterShut = 14, -- Days until water shuts off, -- Days until electricity fails
ElecShut = 14RespawnHours = 72, -- 3 in-game daysRespawnUnseenHours = 48
💡 Tip: Experiment with difficulty by changing zombie population multipliers — higher values increase tension dramatically.
Step 5: Adding mods 🧩
Mods keep gameplay exciting and diverse. To add them:
- Subscribe to your chosen mods on Steam Workshop.
- Copy their Workshop IDs and Mod IDs.
- Paste them into your
servertest.inilike this:WorkshopItems=2684323715;2693455115
Mods=Brita;Hydrocraft - Restart your server to load them.
🧠 Pro tip: Always make sure all players have the same mod list and versions, mismatched mods are a common cause of connection errors.
Step 6: Managing server permissions 🔒
Project Zomboid supports multiple permission levels:
- Admin: Full control - teleporting, banning, spawning items.
- Moderator: Can kick players, announce messages, and monitor behaviour.
- Player: Standard access.
You can edit permissions from in-game admin panels or by modifying admin.txt in your server folder.
💬 Tip: For public servers, appoint at least one active moderator per 10 players to maintain order.
Step 7: Performance and backup settings 🚀
Smooth gameplay is all about balance.
- Set
SaveWorldEveryMinutes=10for frequent autosaves. - Limit
MaxPlayersbased on your CPU (roughly 2–3 players per core). - Keep your
PingLimitaround 300 to avoid lag spikes. - Restart your server once every 12–24 hours for best performance.
💾 Pro tip: Use automated backups to prevent world corruption, especially after adding new mods.
Step 8: Communication and coordination 💬
Set up a Discord or use the in-game chat for announcements and updates.
Keep players informed about restarts, mod updates, and rules.
Consistency builds trust - and trust builds community.
Troubleshooting common issues 🧩
| Problem | Cause | Fix |
|---|---|---|
| Players can’t connect | Wrong port forwarding or mod mismatch | Double-check ports and mod versions |
| Server not appearing in list | Steam query delay | Connect directly via IP |
| Mods not loading | Incorrect Workshop IDs | Verify spelling and reload server |
| Lag spikes | Too many zombies or mods | Lower zombie spawn rate or remove heavy mods |
Final thoughts 💭
A great Project Zomboid server isn’t just about surviving zombies, it’s about crafting a world that players want to return to. With the right setup, performance tuning, and communication, your server can thrive long after the first apocalypse.
And if you’re hosting with ChipHead, setup is effortless - our servers are optimised for mod-heavy games, automatic backups, and smooth multiplayer performance.
Stay safe, stay smart, and build your perfect world - one plank at a time. 🧱🧟♂️