Why modding matters 💡
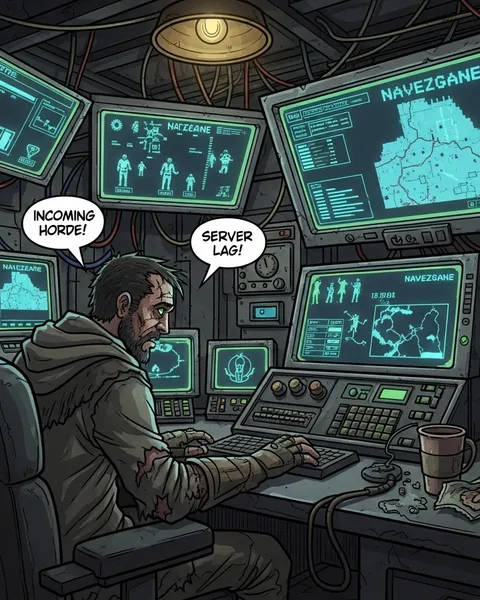
Modding keeps 7 Days to Die fresh, personal, and endlessly replayable. Whether you want tougher zombies, better building tools, or total overhauls, mods help you tailor your server’s experience for your community.
If you’re hosting your own world, smart modding also means stability. Knowing how to install, manage, and update mods properly can prevent crashes and keep your server running smoothly.
Getting started with server mods ⚙️
Before adding anything, it’s worth understanding how 7 Days to Die handles mods.
- Server-side mods: These affect the entire server and apply to every connected player. They include balance tweaks, new blocks, or expanded features.
- Client-side mods: These change visuals or interface elements. They only need to be installed on each player’s PC.
Most mods live inside your server’s Mods folder. Simply upload each mod as its own subfolder, restart your server, and you’re good to go.
If you’re using a host like ChipHead, you can access the Mods folder directly through your file manager, no command line required.
Must-have mods for 2025 🧟♂️
🏗️ SMX UI Series
A clean, modern interface overhaul that makes crafting, inventory, and player info easier to manage. Perfect for servers where players want a more streamlined HUD without changing gameplay.
🔫 Weapon Expansion Packs
From new melee weapons to advanced firearms, these mods add depth and variety to combat. Great for servers that focus on survival realism or PVP balance.
🌎 Darkness Falls
One of the most popular total conversions. It completely reworks progression, classes, and enemies for a brutal but rewarding survival experience. If your community loves a challenge, this is a must-try.
🚜 Farm Life or Farming Plus
Adds deeper farming systems, new crops, and expanded cooking options. Brilliant for cooperative servers that want a more relaxed, community-driven vibe.
🧱 Undead Legacy
Another major overhaul with crafting revamps, improved visuals, and an industrial-tech theme. Ideal for long-term progression worlds or roleplay servers.
How to install mods safely 🧠
- Back up your world and saves before adding or removing any mods.
- Use folders, not .zip files. Extract mods before uploading, zipped files won’t load.
- Check version compatibility. Each mod specifies which game version it supports. Installing outdated mods can cause errors or invisible items.
- Restart the server fully after installing mods. Quick restarts don’t always apply new XML data.
- Add one mod at a time and test it. If your server crashes, you’ll know exactly which mod caused it.
Keeping your mods updated 🔄
New patches can break older mods, especially overhaul packs. After each update:
- Check for mod updates before launching the server again.
- If a mod hasn’t been updated yet, temporarily disable it.
- Keep a “test server” or backup environment where you can trial mod updates safely.
A well-managed mod list can stay stable for months, even through major patches, as long as you keep it tidy.
Performance & stability tips 🧰
- Don’t overload your server with heavy mods. Start with a few and scale up once stability is confirmed.
- Monitor RAM and CPU usage, large overhaul mods need extra memory.
- Encourage players to clear local caches if they experience texture issues or mismatched item data.
- Reboot your server regularly to clear memory leaks.
Final thoughts 💭
Modding transforms 7 Days to Die from a survival game into your own custom apocalypse. Whether you’re crafting a hardcore horror world or a chilled farming co-op, mods give you the control.
If you host with ChipHead, installing and managing mods is simple - upload, restart, and survive your way. 🧟♀️